Monday, January 26, 2015

Valentine Countdown

Hey there!! Thought I would pop in and show you what I've been working on.

I didn't do a Christmas countdown this year, life has been....crazy around here, to say the least, so I wanted to go all out for Valentine's Day for the girls.

I've done a countdown for V-day before, but this one is a little different. Each of the bags has a small gift, or card, or a fun activity we're doing that day.

I know they're going to love it!! I'll try and get a pic once I have it all hung up this weekend!!

Thanks for stopping by, hope you have a great week!!

Wednesday, January 14, 2015

Project Life for 2015

Hey there!  I know, another Project Life post :)  I thought I would share with you my kit for 2015 and my plan for this year, and what I've done for the last few years because it works great for me and may work for someone else.


I'm using this adorable 5th and Frolic Edition.  The girls helped me pick it out and I'm in luuuuuv!


Here's a little sample of the title cards :)  Aren't they cute?


Here's a peek at week number one, which was really just a few days.  Super easy!!


And week number two, which has some personal journaling, hence the super sneaky camera angle.  Ha.


So, for my process.  I load up my book with my page protectors.  I only use one 12x12 page protector for one week.  Two is too much for me :)  So for a whole year, that's about 30 page protectors, give or take.  Then I go back through and add all of the title cards.  I just take the stack, right out of the box and rotate them through the book.  SUPER easy.

Then I go back with a few Sharpies and add the week number and the dates.  And then I go back and add the journaling cards, using my same stack and rotate method (see above, haha)  This year, I worked on the whole process on a Sunday afternoon while Mike and I watched a movie.

Now, my whole book, FOR THE ENTIRE year, is done.  All it needs is pictures and words.  I just have to add three pictures a week.  I take all my pictures with my cell phone and print from my Selphy.  I write in my planner, a few notes, every day about what we did or what is going on.  So when I sit down to work on my Project Life, I print my photos out and work on my journaling.  By the time my photos are done printing, I'm usually about done with my journaling and can slip the photos into the page protectors.  SO EASY!!

The best part about this project is that it's recording our everyday.  I was in such a scrapbook slump, only taking pictures of the major holidays and now I'm getting all this awesome stuff!

So, I hope I helped someone that was maybe thinking PL seemed like too much or like they couldn't or didn't want to take it on.  I know it's not for everyone :)

Thanks for stopping by today.  Hope you're having a good week!

Friday, January 9, 2015

Project Life Week 52!!

Well, Project Life number 3 is officially in the books!  I finished up over the weekend last week :)


I wasn't sure how to finish out this week, since the 31st was on Wednesday.  Since I only use three pictures for one week and one 12x12 page protector for one week, I had a delima.  I ended up using six pictures and adding more journalling, problem solved!!

Did you do Project Life for 2014 or divided page protectors?  Thanks for stopping in today :)  Hope you have a great weekend!!

Wednesday, January 7, 2015

Fauxdori, Jendori, Chic Sparrow.

Hey all!  I'm super excited to share my post today!  You know I'm a wee bit obsessed with my planners/planning/list making, etc.  For almost two years I've used a few different styles of ring bound Filofaxes and I LOVE them.  And honestly, I'll go back to them, because they are awesome.

However, I've seen, and heard about the Midori Traveler's Notebook A LOT lately and after watching a lot of videos and perusing a lot of Instagram feeds :) I decided to buy a Jendori from Chic Sparrow on Etsy.  Essentially, a Midori or a Jendori or a Fauxdori is a leather cover with a few elastic bands in the spine which you slip paper books into.  There is a whole range of things you could use your book for.  A journal, a planner, a sketchbook, or all three!!

So, here is how I've chosen to set up my Jendori!  PICTURE HEAVY POST AHEAD!!


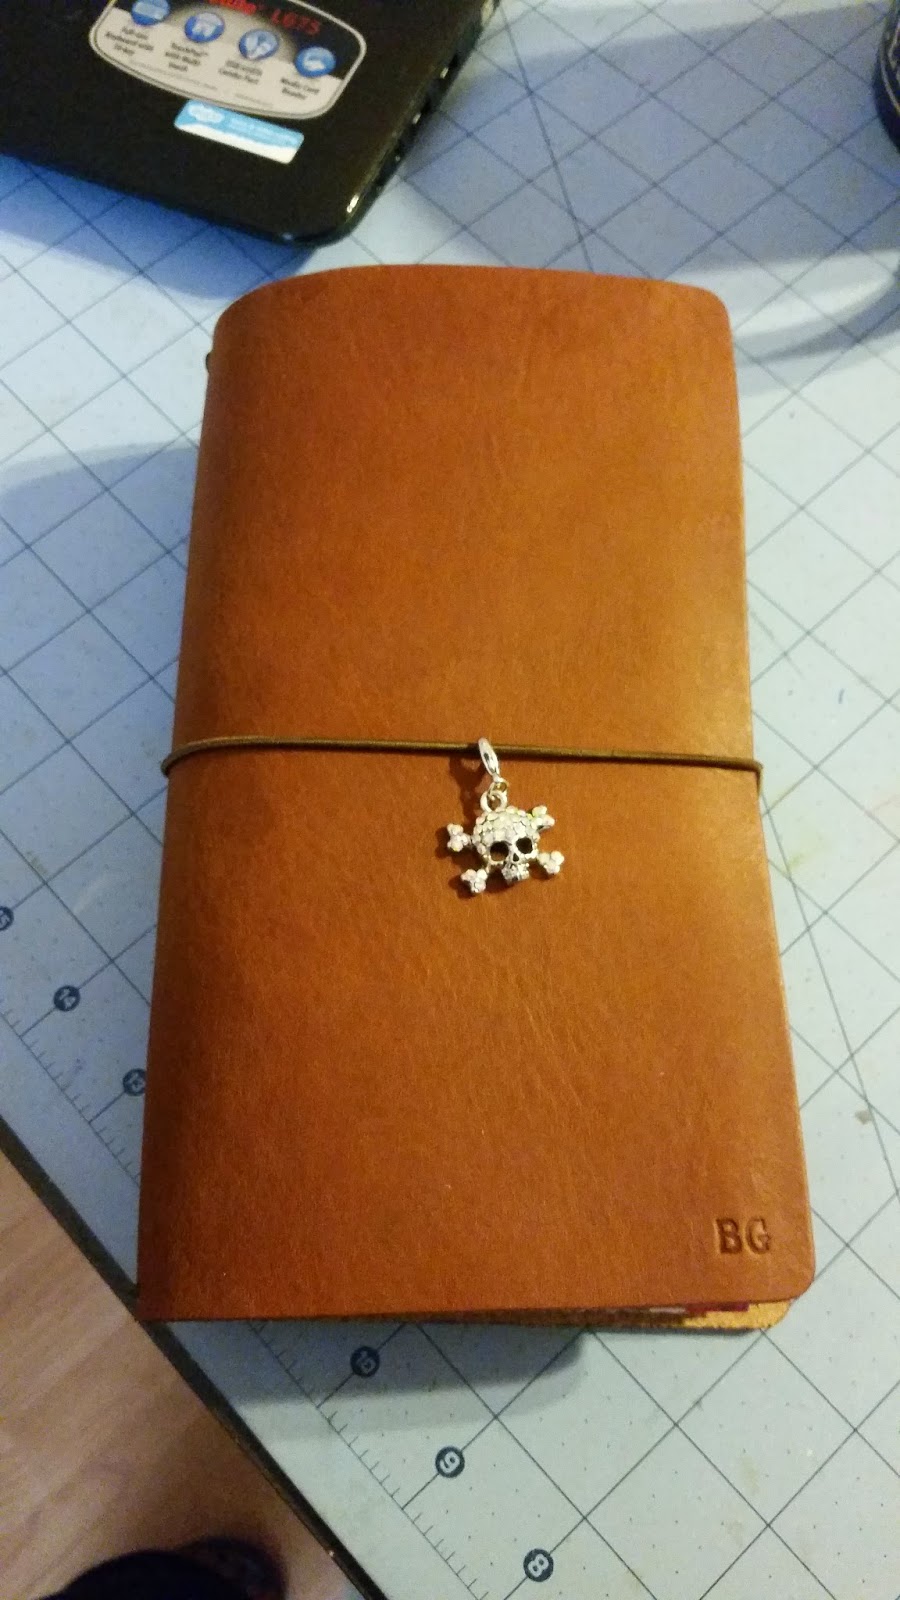
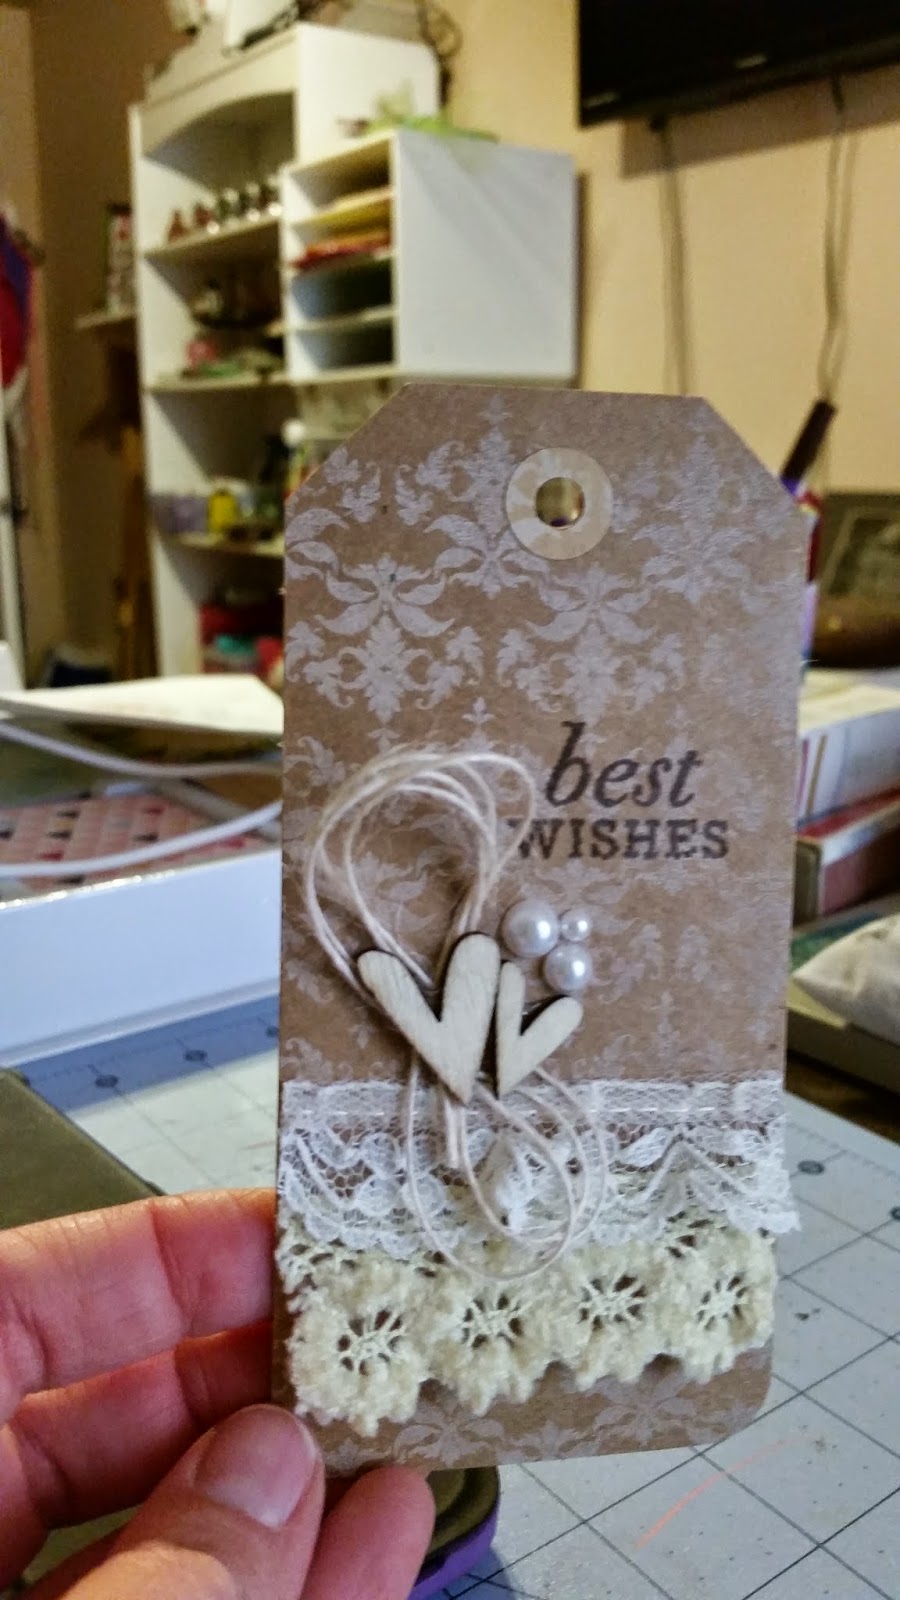
Here's the cover.  I added a little charm to front :) I love the color, it matches my Madewell Tote perfectly and smells wonderful!


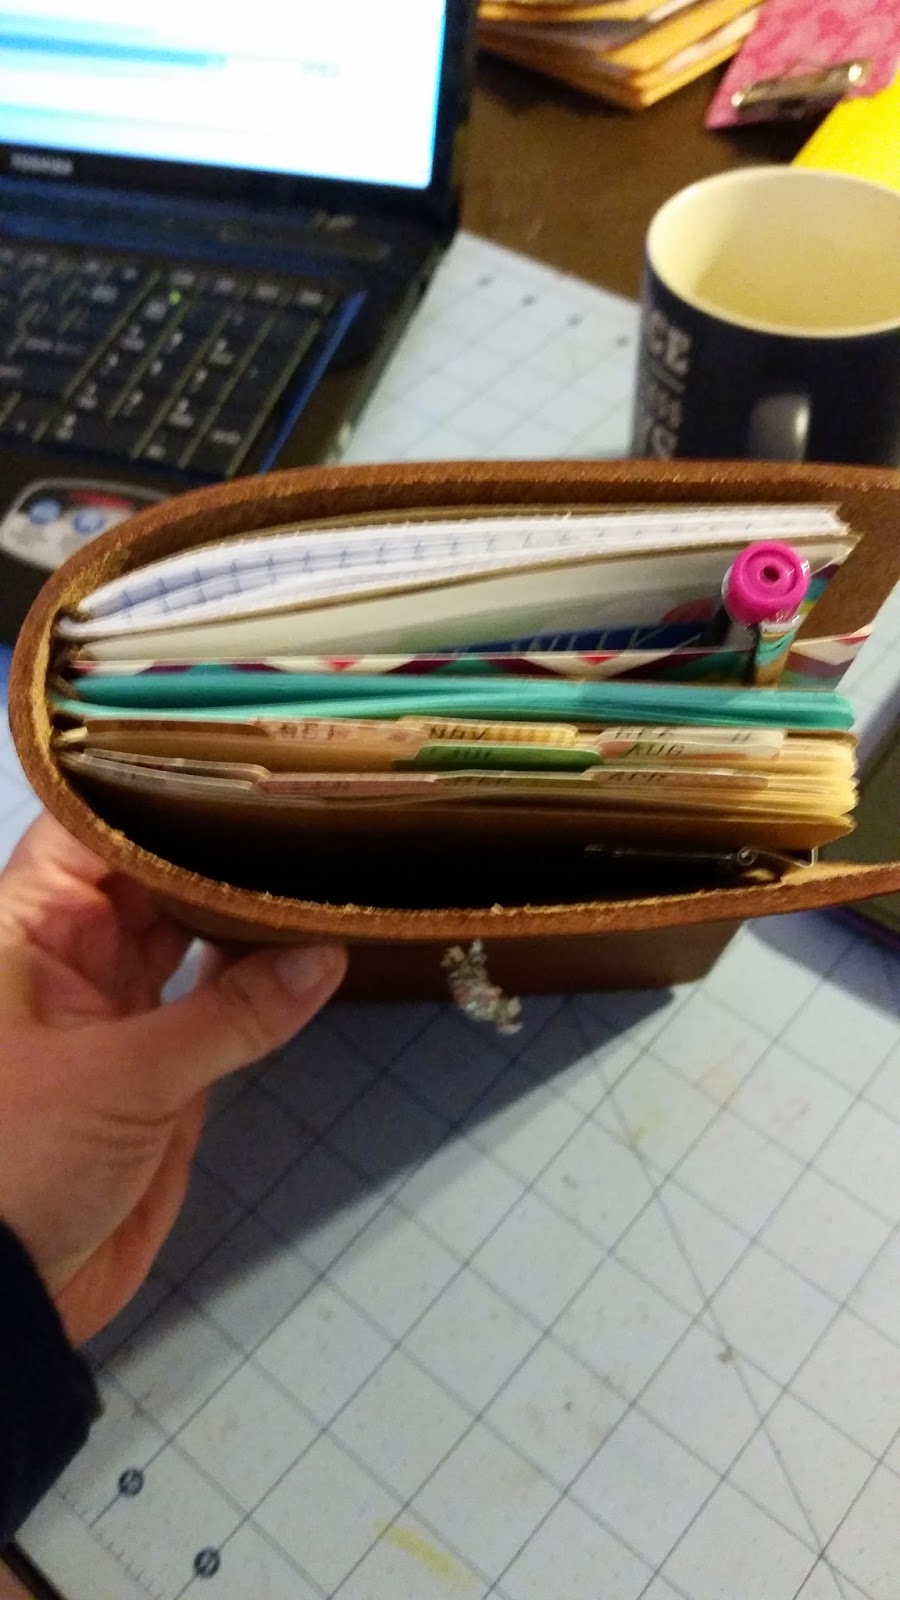
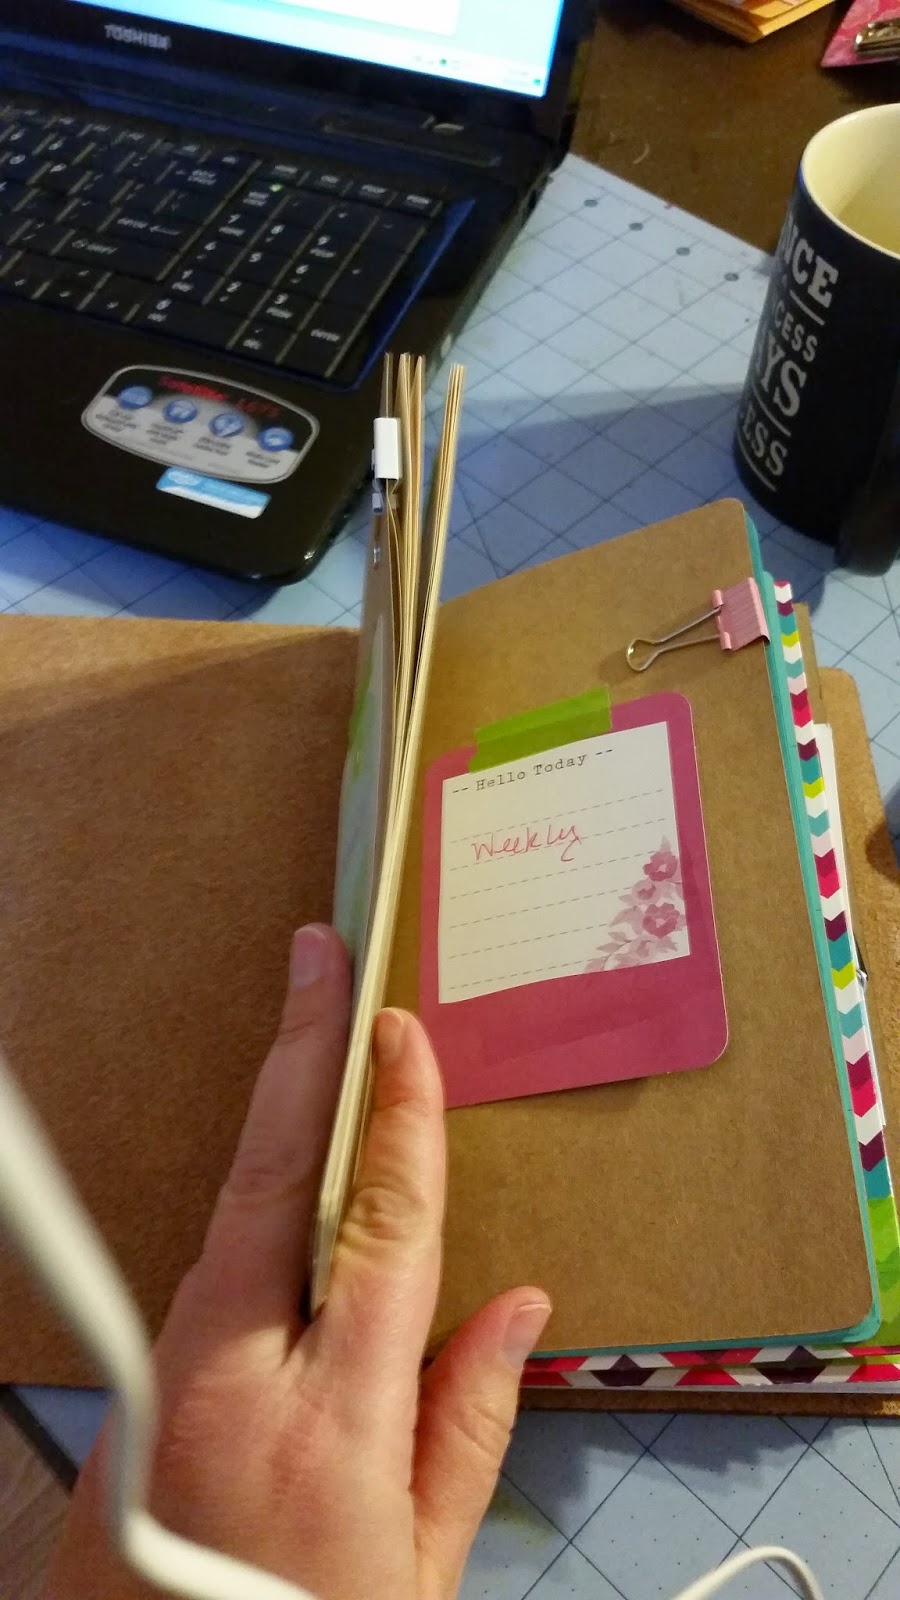
Here's a picture from the top, a little blurry, but I added some monthly tabs and  it gives it a little color too.


And here's a side view.  The leather is super thick!  I'm SO pleased with this cover, seriously!


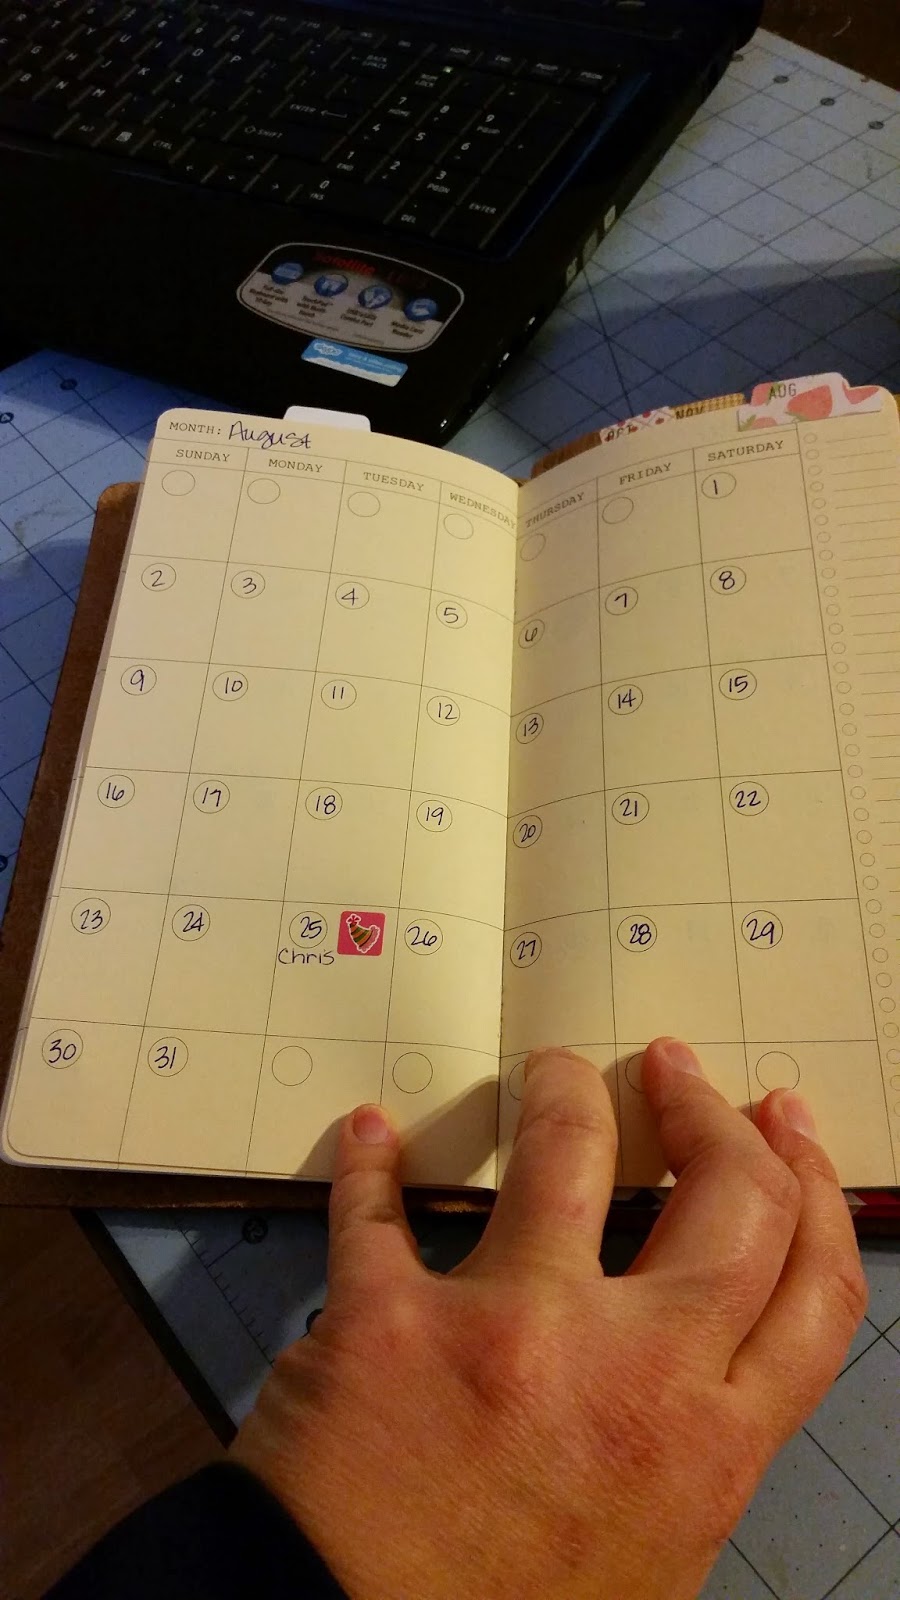
I ordered two different books from Yellow Paper House on Etsy.  One of which was this monthly, which was blank and I had to fill in the dates.  What I loved about Yellow Paper House, besides the crazy fast shipping, was the number of colors you could choose from for your pages!  They had SO many options for books to choose from, but I just got the two. 


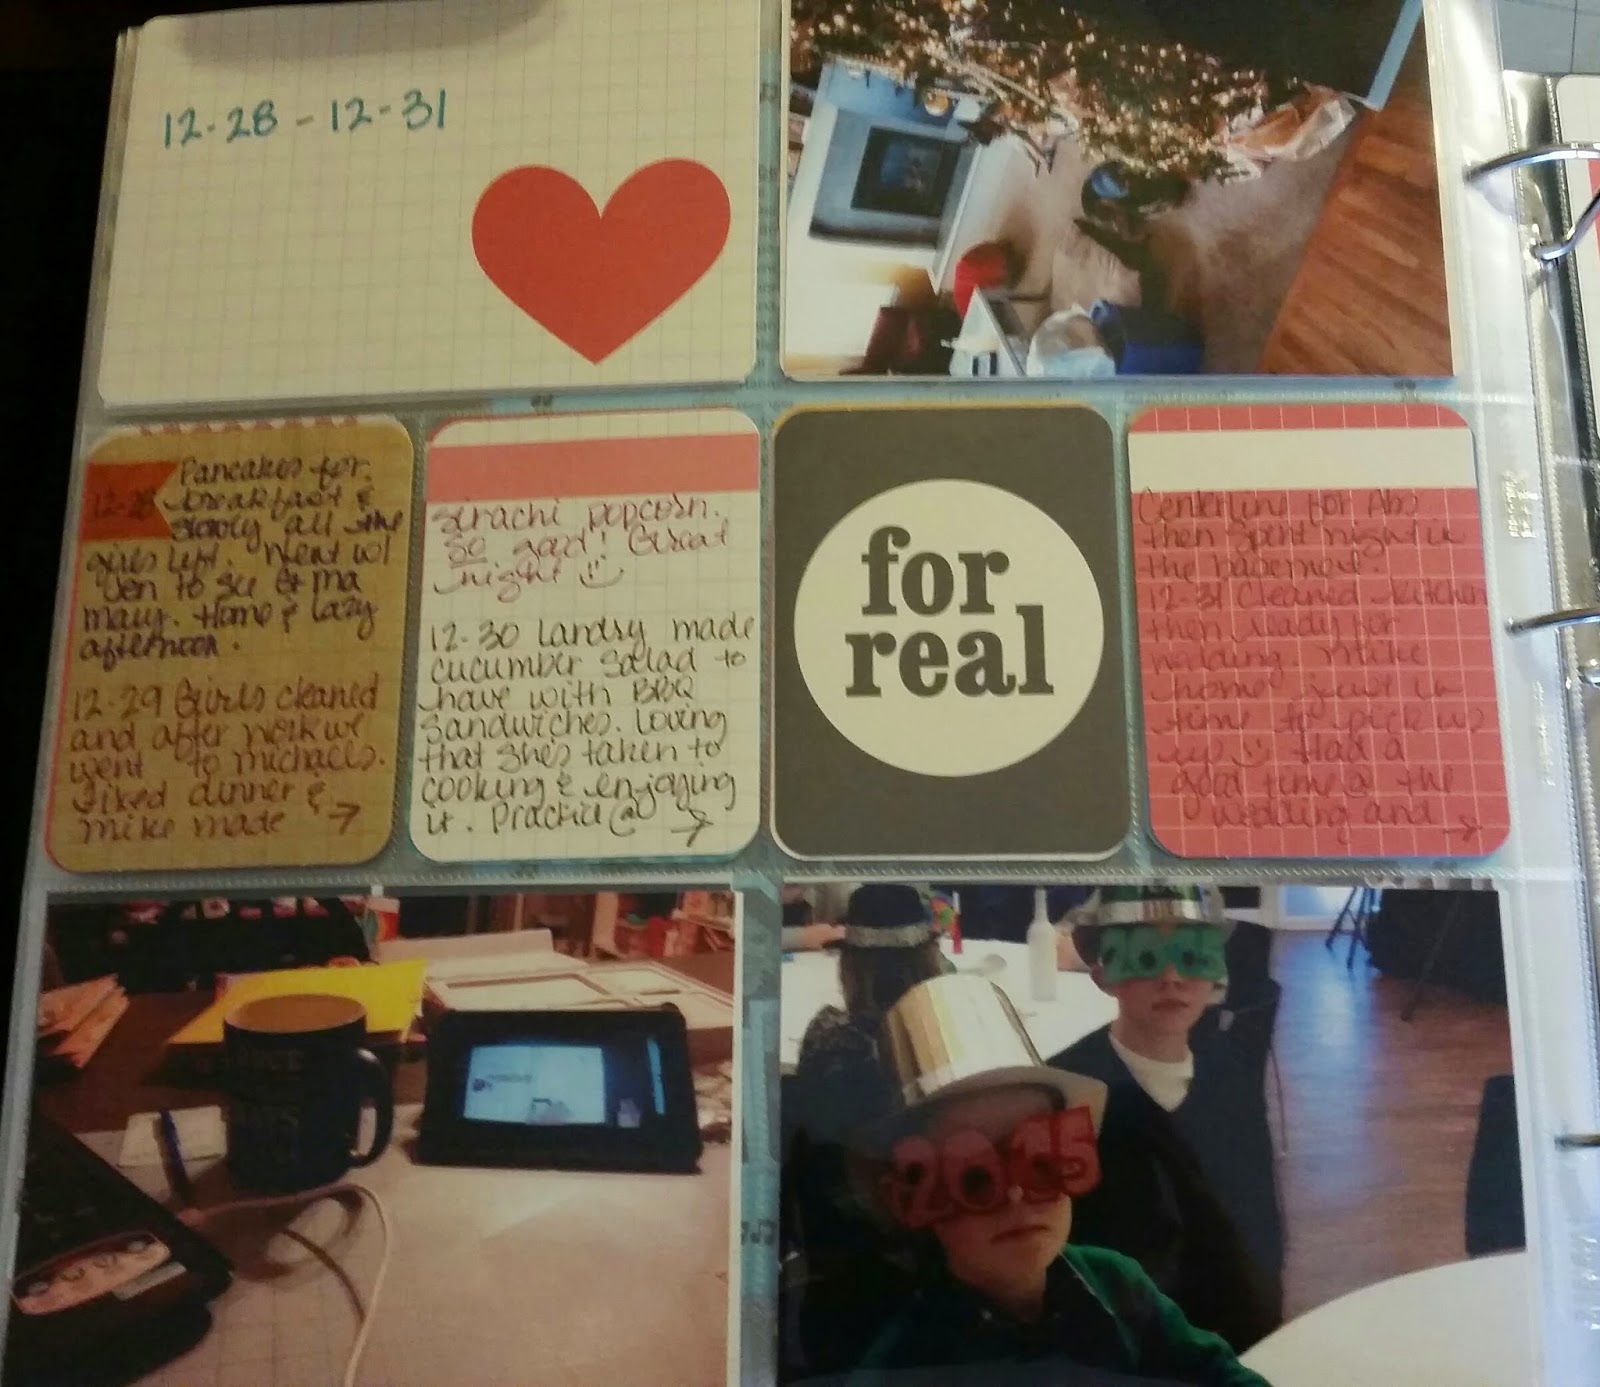
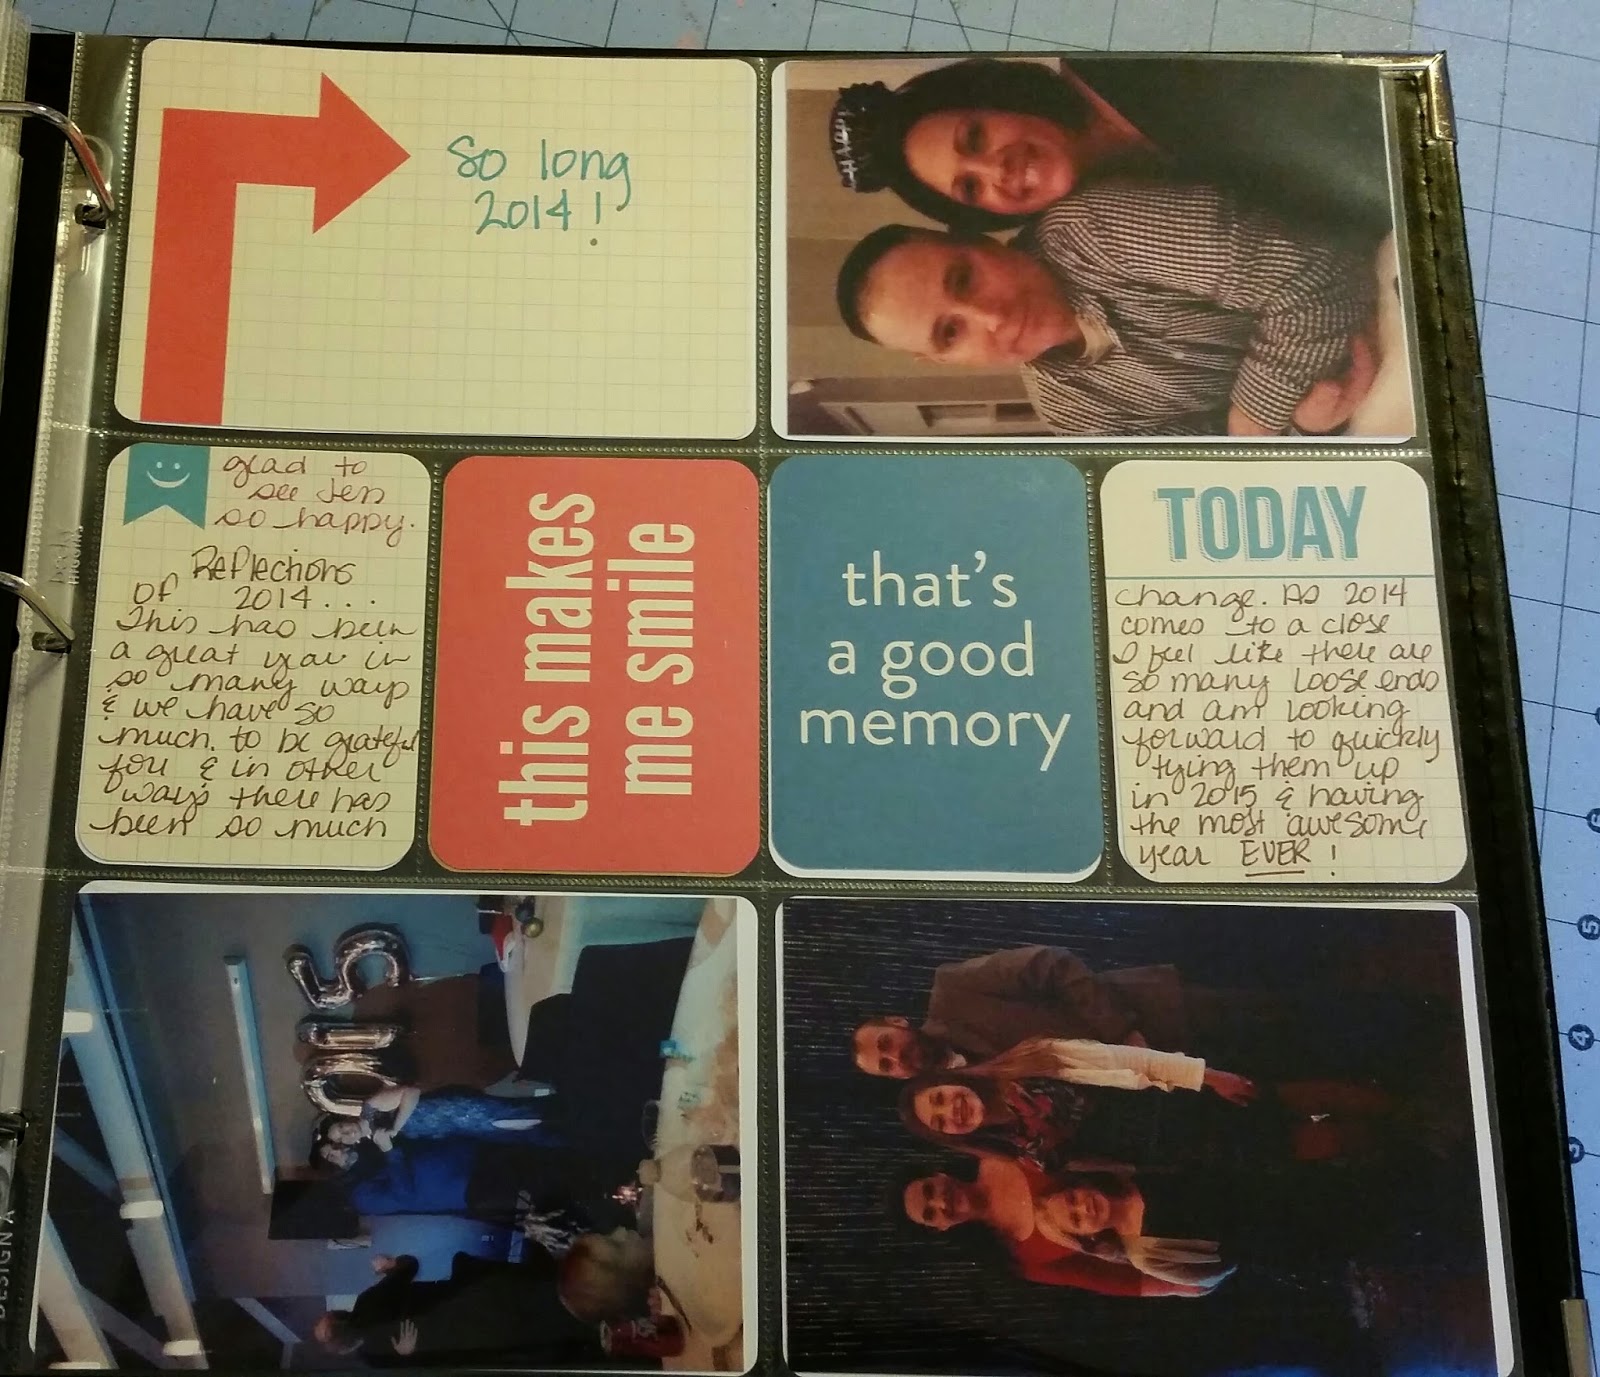
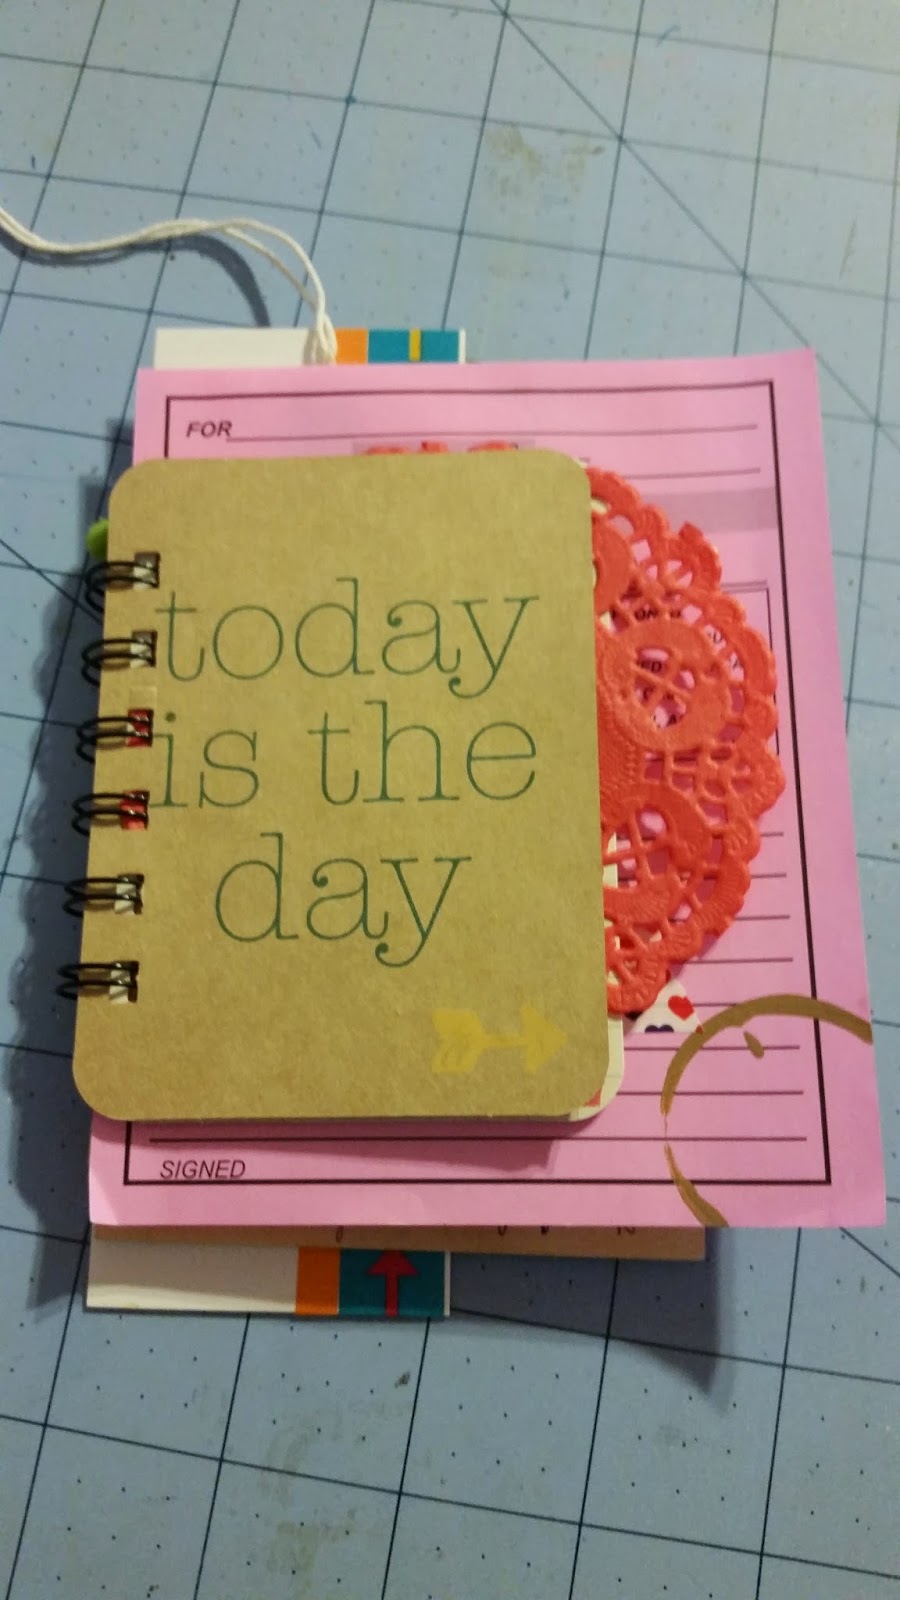
The fronts of the books came blank so I decorated them, for now, with a simple Project Life card, and some washi tape.


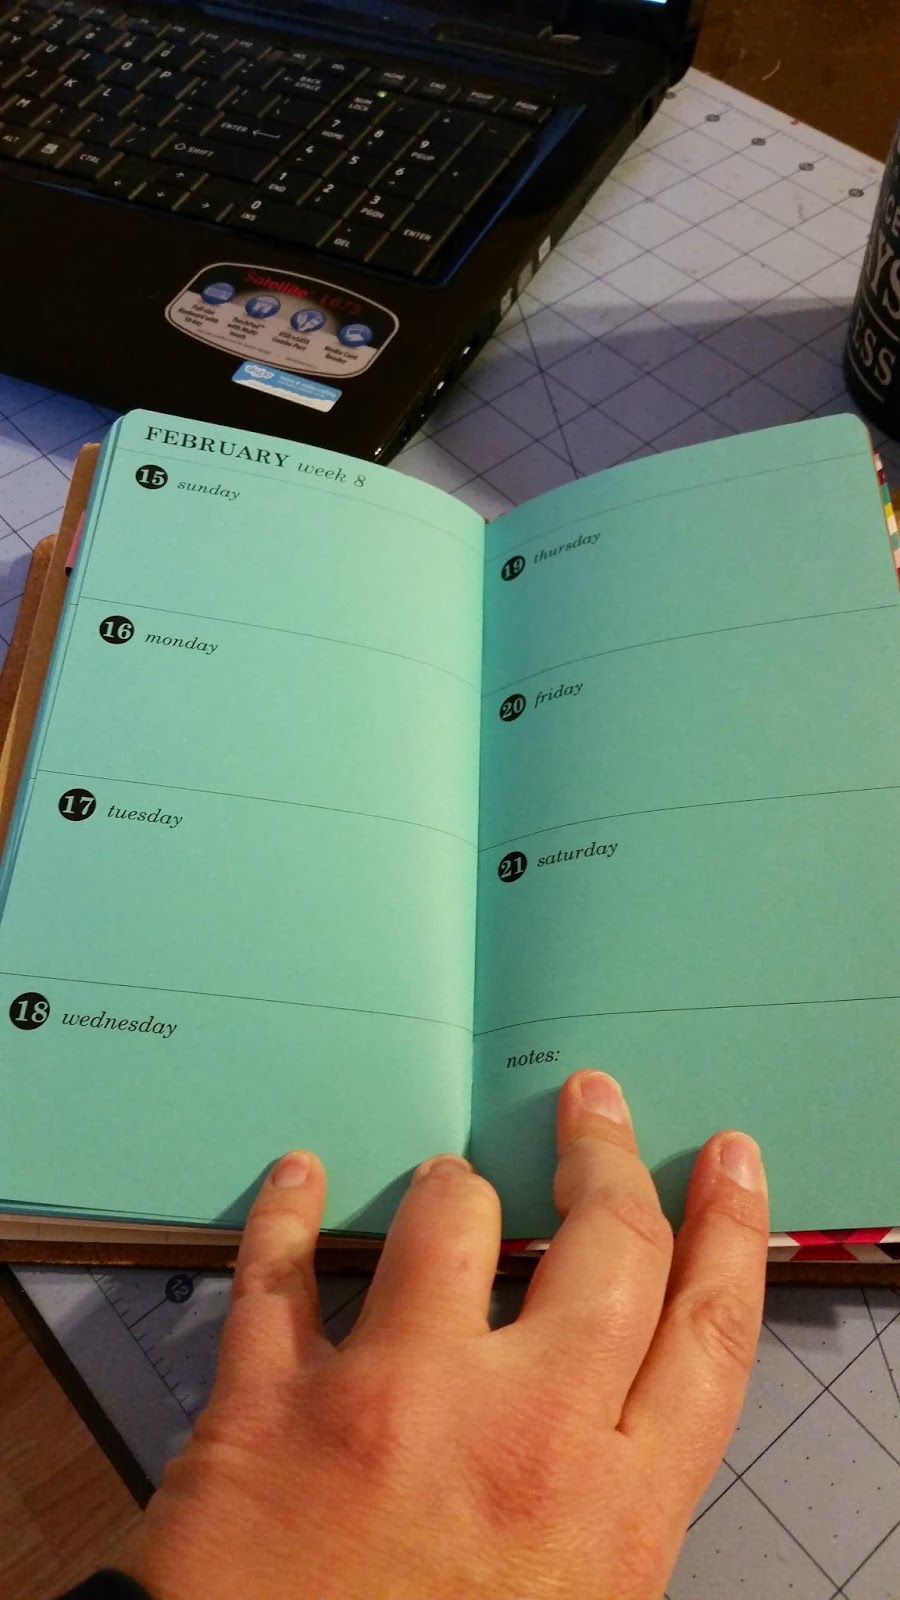
This is the second book I ordered.  It was the weekly, January through March 2015.  I picked a fun bright blue color. 

I MADE two different folders to hold all those little bits and pieces.  After watching YouTube videos, mine were kind of messed up and looked a little wonky, but I made them work :)


I think my favorite part are the books I made and were a big part of why I bought the Jendori in the first place.  These books were super easy to make and I even have Abie hooked on making them!


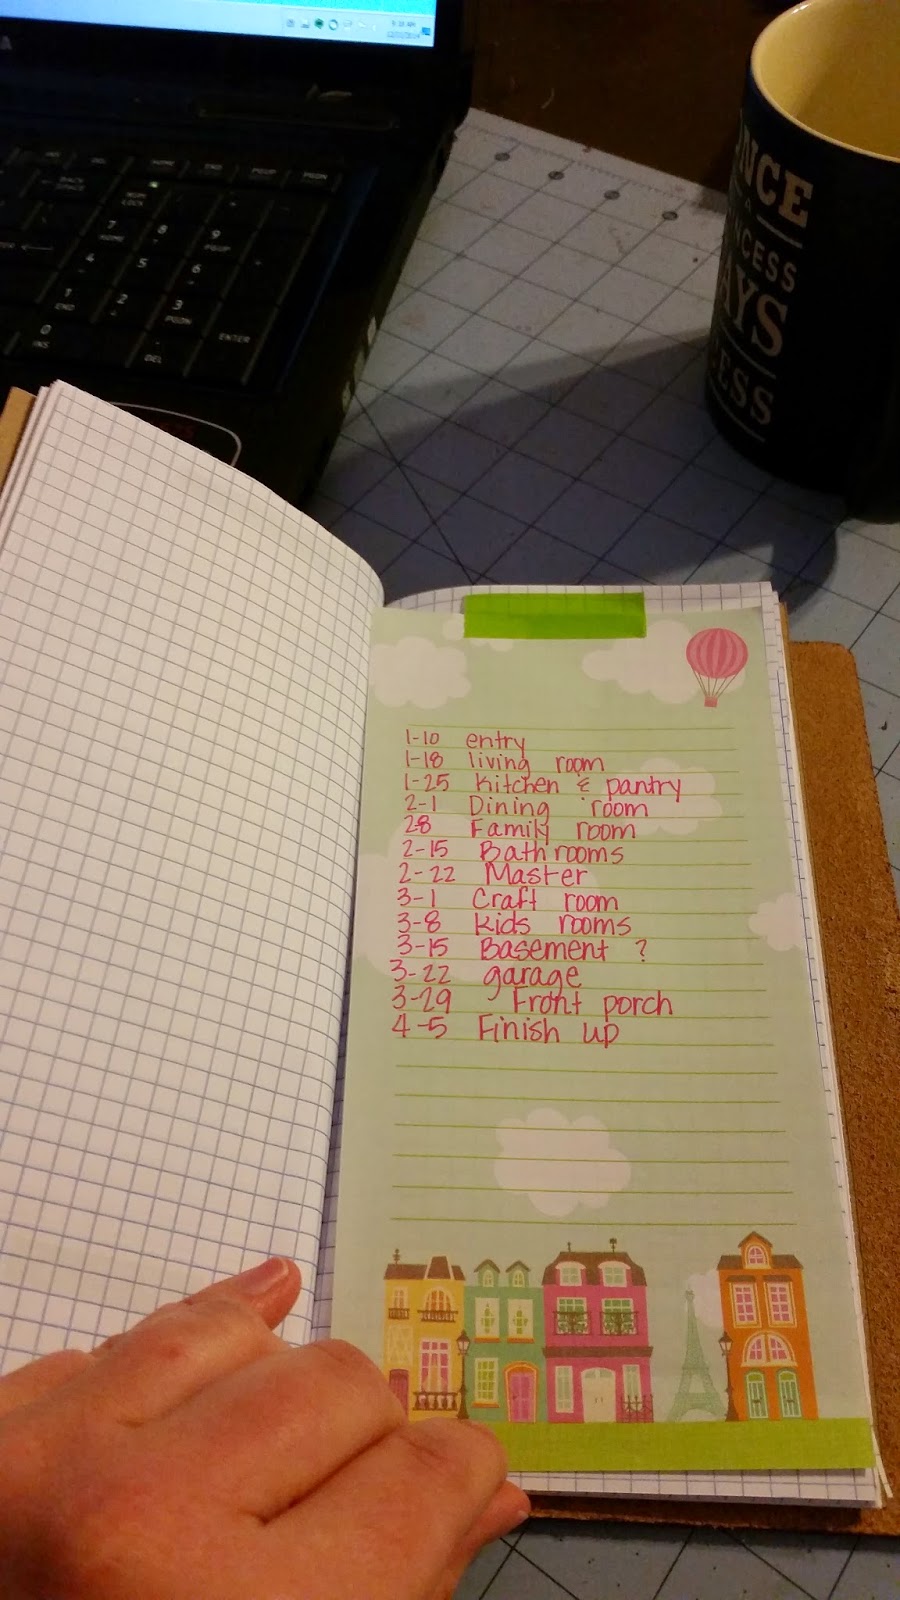
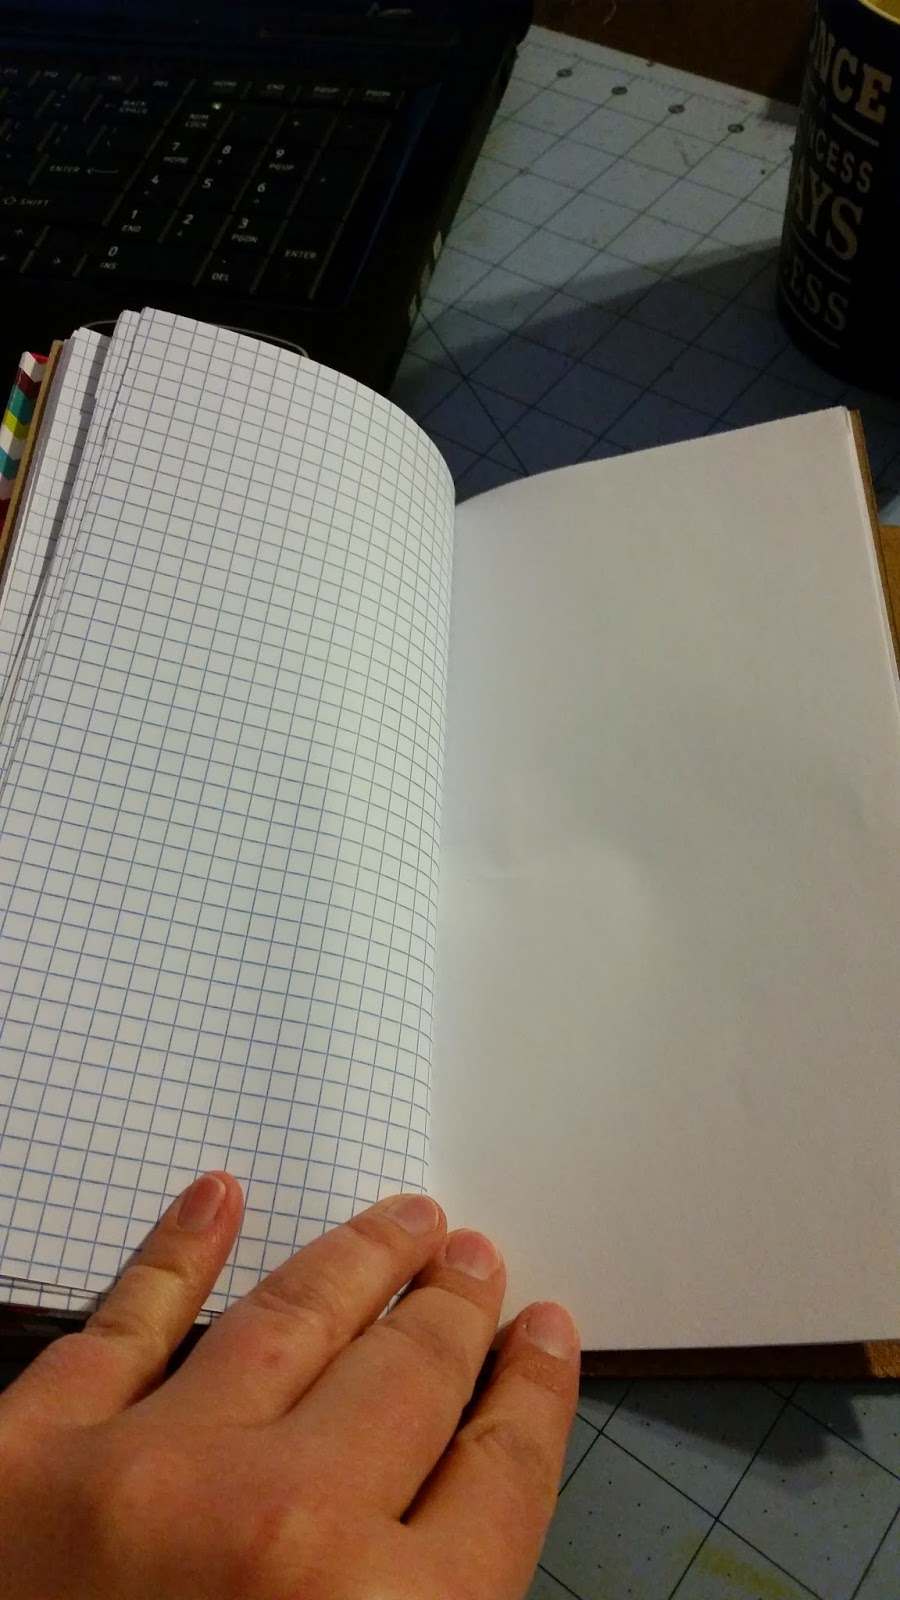
I made one book that was a combination of plain paper and graph paper.  I am using it to keep my to do lists, book lists, home lists, etc in.


Then I was inspired by Tracy's post on her Fauxbochini and I made an entirely separate book of graph paper to journal in.  All of these books fit in my Jendori and I love it!!


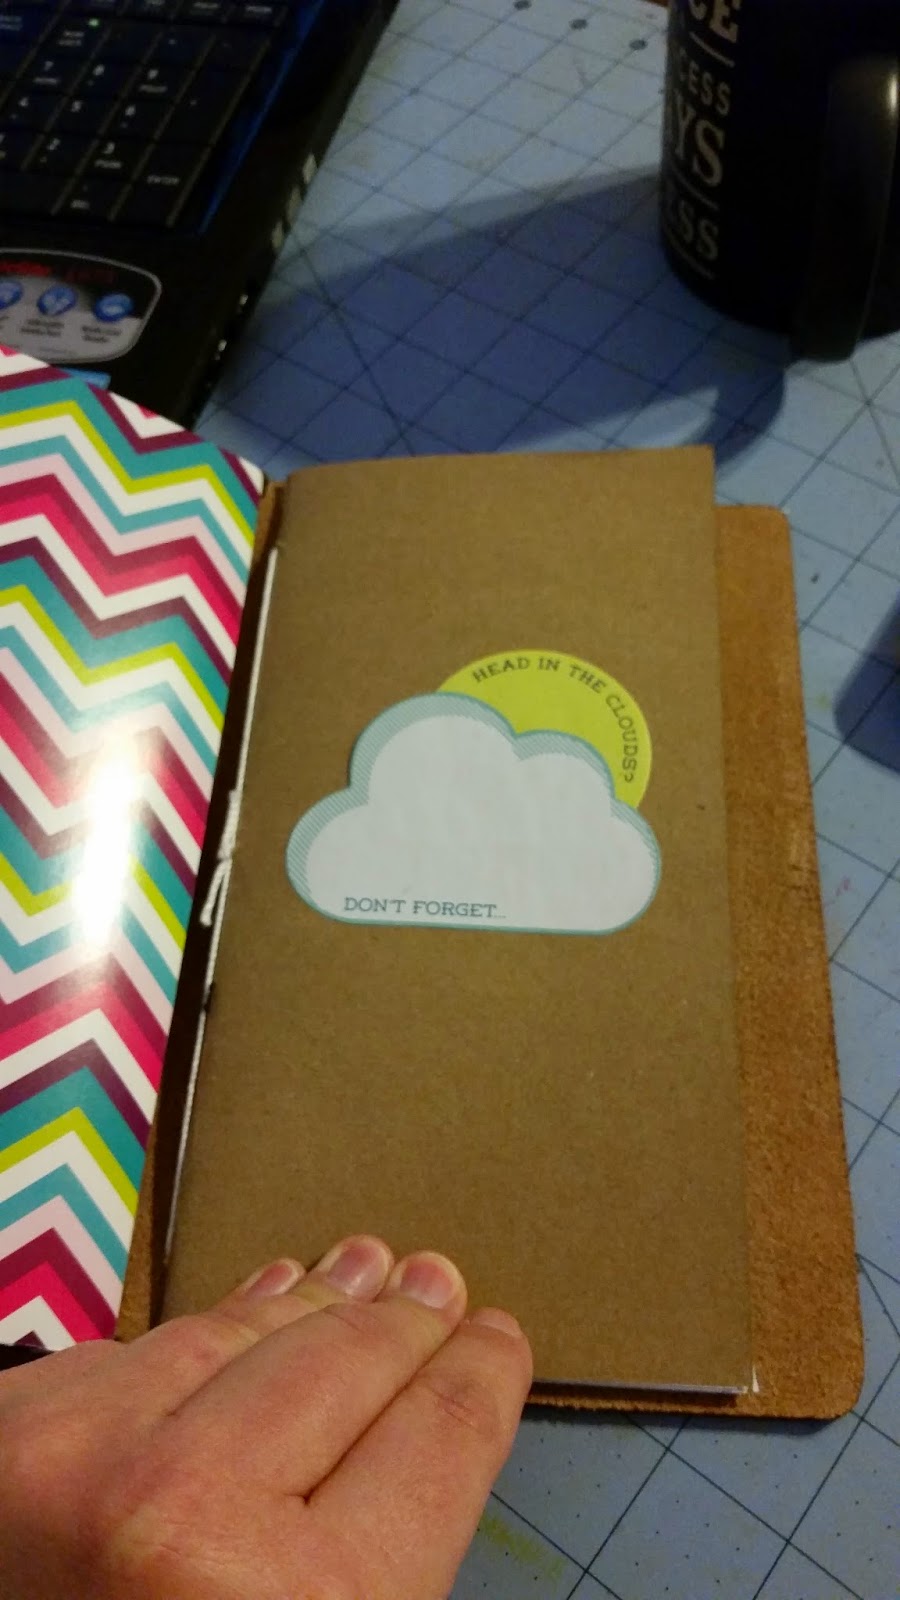
Here's the back of my book :)

So, that's it.  I'm enjoying this new system, for now.  I know that I'll go back to my Filofax one of these days, but for now...

What is your organizing plan for 2015?

Monday, January 5, 2015

Wedding tag.

My cousin was married on New Year's Eve, last year ;), and I whipped up this super fun tag for her gift bag!!  I absolutely LOVE the way it turned out!!


I stamped the background, Damask Desgins from Papertrey Ink, with whit ink on the Kraft tag and then layered on all sorts of fun, wedding type embellishments!!  The best part about the tag, it matched the gift bag!  I know I've said this before, but that's what I LOVE about papercrafting.  You can really custom tailor anything!

Thanks for popping in today.  Have an AWESOME week!!

Friday, January 2, 2015

Happy New Year and a motivational mini book!

Happy 2015 my friends!!  Did you have a nice holiday?  I cannot believe that Christmas and New Years is already over and we're heading into the first weekend of January. 

Over the holiday I created this fun little mini with fun motivational sayings from a few of the people I follow on Instagram.  I LOVE flipping through this :) and had a great time making it!!


I went through my stash and pulled out all sorts of fun, pre-made cards and papers, including Project Life cards and layered everything together.


Then I added my all of my quotes, washi, stamps, paints, etc.


I love this little bag with the cork butterfly :)


 I'm not sure what is going on with this photo.  It was facing the right direction but when I upload to the blog it's facing sideways.

And this one too!! 

Anyway, After I was all done with my pages, I stacked them up and bound them with my Bind it All.  It turned out to be a super fun book!  This is the first time I've ever done a project like this :)

Here's to an awesome 2015!!  Thanks for stopping by today and I hope you have a great weekend!